Wireless security cameras have transformed how homeowners protect their property, and the Arlo Pro remains one of the most recognizable names in the category. With 1080p HD video, wire-free installation, and rechargeable batteries, it carved out a niche when it launched, and several iterations later, the Arlo Pro lineup continues to evolve. Whether you’re securing a front porch, monitoring a backyard workshop, or keeping tabs on a rental property, understanding what this camera delivers (and where it falls short) helps you decide if it’s the right fit for your setup.
Table of Contents
ToggleKey Takeaways
- The Arlo Pro security camera offers 100% wire-free installation with rechargeable batteries and 1080p HD video, making it ideal for rental properties, detached garages, and locations where running power cables is impractical.
- Battery life ranges from 3–6 months under typical use but varies significantly based on motion frequency, temperature, and video settings—expect 30–50% shorter runtime in cold climates.
- Strong Wi-Fi signal strength (at least two bars) is critical for reliable motion detection, notifications, and live streaming; network performance directly impacts responsiveness and latency.
- Arlo Pro integrates with Alexa, Google Assistant, and SmartThings, but HomeKit support is limited to Pro 3 and later models—verify compatibility before purchasing if you’re committed to Apple’s ecosystem.
- Subscription costs add up over time; the free 7-day plan works for low-stakes monitoring, while Arlo Secure plans (~$5–$13/month) unlock AI detection and advanced features that reduce false alerts.
What Makes the Arlo Pro Stand Out for Home Security
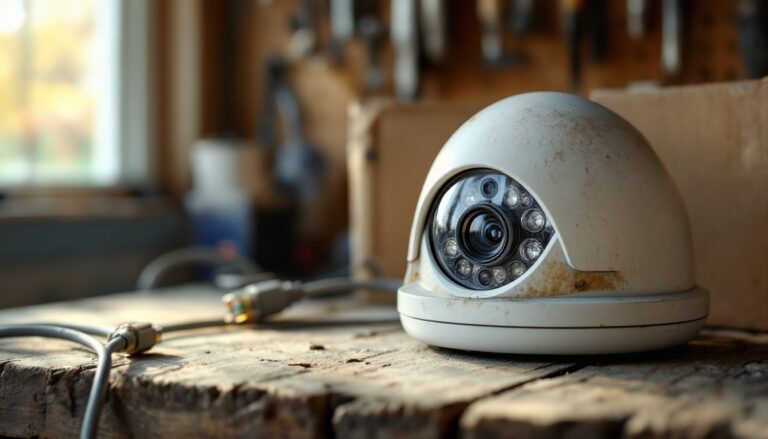
The Arlo Pro’s core appeal lies in its 100% wire-free design, no hardwiring, no running Ethernet cables through walls. Each camera houses a rechargeable 2440 mAh lithium-ion battery and connects to a base station via a proprietary 900 MHz frequency, sidestepping Wi-Fi congestion that can plague other wireless cameras.
This design works well for rental properties, detached garages, or anywhere pulling power is a headache. The magnetic camera mount clicks onto a metal wall plate, making repositioning quick if you need to adjust the field of view after initial setup.
Weather resistance is rated IP65, meaning dust-tight and protected against water jets. Cameras handle rain, snow, and summer heat from -4°F to 113°F, though extreme cold does shorten battery runtime. If you’re mounting in an unheated barn or facing Canadian winters, expect more frequent charging cycles.
Key Features and Specifications
Here’s what the hardware delivers:
- Video Resolution: 1080p HD at 30 fps
- Field of View: 130-degree diagonal lens
- Night Vision: Infrared LEDs effective to 25 feet
- Audio: Two-way with noise cancellation
- Motion Detection: Passive infrared (PIR) sensor with customizable activity zones
- Storage: Free 7-day cloud rolling storage (with limitations) or optional subscription for extended history and advanced features
- Battery Life: 3–6 months per charge under typical use (varies widely with activity frequency and temperature)
- Siren: Built-in 100+ dB alarm triggered via app
The base station (required for Arlo Pro models before the Pro 3) includes a USB port for local storage via thumb drive, offering an offline backup option if you distrust cloud-only recording or want to avoid subscription fees. The base also acts as a siren controller and can integrate up to five cameras on the base plan, though performance depends on available bandwidth and camera placement.
One trade-off: continuous recording isn’t supported without a subscription. The camera wakes on motion, which conserves battery but means you won’t capture every second of activity, something to weigh if you’re monitoring high-traffic areas or need forensic-level detail.
Installing Your Arlo Pro: Step-by-Step Setup Guide
Arlo markets this as a “plug-and-play” system, and for the most part, it is, provided you follow the sequence. Skipping steps or ignoring signal strength leads to dropped connections and phantom motion alerts.
Tools and Materials:
- Arlo Pro camera kit (cameras, base station, mounts, batteries, charging cable)
- Smartphone or tablet with Arlo app (iOS or Android)
- Ethernet cable (included)
- Drill with masonry or wood bit (if permanent mounting)
- Level (even a bubble-level app works)
- Pencil for marking screw holes
- Safety glasses if drilling into brick or concrete
Installation Steps:
-
Position the Base Station: Place it centrally in your home, near your router. Connect via Ethernet cable and plug into power. The base station needs a wired connection, it doesn’t support wireless bridging.
-
Download the Arlo App: Create an account, then follow the in-app prompts to add the base station. You’ll scan a QR code on the unit. Wait for the LED to turn solid green before proceeding.
-
Sync Cameras to the Base: Remove the battery door, insert the charged battery, then press the Sync button on the base station. Within two seconds, press the Sync button on the camera (located on top or back, depending on model). The camera LED blinks blue, then solid blue when paired.
-
Test Signal Strength: Before mounting, hold the camera in the intended location and check the app for signal bars. Arlo recommends at least two bars. Walls, metal siding, and appliances degrade signal. If you’re installing in a detached workshop or garage, test carefully, you may need a Wi-Fi extender or repositioned base station.
-
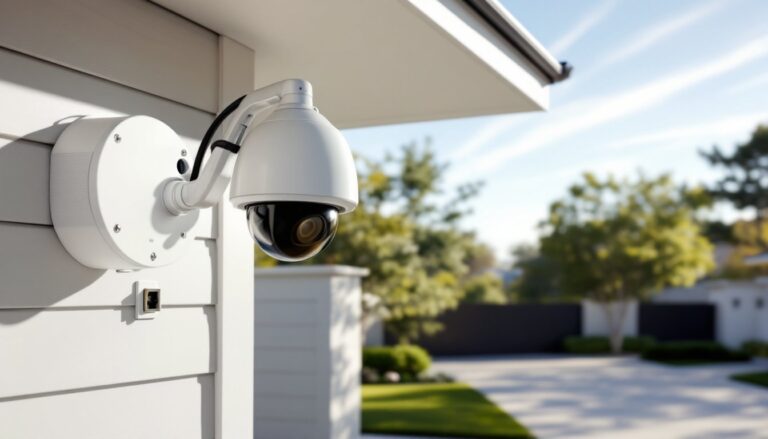
Mount the Camera: The magnetic mount is fast but less secure against tampering. For permanent installation, use the included screws. Mark holes with a level (a crooked camera looks amateurish and skews motion zones), drill pilot holes, insert anchors if mounting to drywall or masonry, then fasten the mount plate. Click the camera onto the mount and adjust angle.
-
Configure Activity Zones and Modes: In the app, draw zones to exclude trees, sidewalks, or other areas that trigger false alerts. Set up modes (Armed, Disarmed, Schedule) to control when cameras record.
Permit Note: Installing security cameras on your own property doesn’t typically require a permit, but rules about recording audio or filming neighboring property vary by state. Some jurisdictions require two-party consent for audio recording. Check local laws before activating the microphone in shared spaces.
Arlo Pro Performance: Video Quality, Battery Life, and Real-World Testing
Video Quality is solid for daytime monitoring. The 1080p sensor captures license plates at 15–20 feet and facial details at closer range. The 130-degree lens reduces blind spots but introduces slight fisheye distortion at the edges, fine for general monitoring, less ideal if you need to read fine print on documents or signage.
Night vision switches to infrared LEDs in low light, rendering black-and-white footage. Effective range is roughly 25 feet, though reflective surfaces (glass doors, car windows) can wash out the image with IR glare. If you’re aiming a camera through a window, turn off IR and rely on ambient lighting or add a motion-activated floodlight.
Battery life is the most variable spec. Arlo claims 3–6 months per charge, but real-world performance hinges on:
- Motion frequency: A camera watching a busy driveway drains faster than one aimed at a side gate.
- Temperature: Below 32°F, lithium-ion cells lose capacity. Expect 30–50% shorter runtime in winter.
- Video length settings: Longer clips (60 seconds vs. 10 seconds) consume more power.
- Live streaming: Each minute of live view eats battery.
In moderate climates with 10–20 motion events daily, 4 months per charge is realistic. Cold-weather installs or high-traffic zones may require monthly recharging. The cameras aren’t hot-swappable, so budget for brief offline windows during charging unless you buy spare batteries (around $50 each).
Motion detection uses a PIR sensor, which triggers on heat signatures. This reduces false alerts from swaying branches but can miss slow-moving or cold objects. A person walking briskly triggers reliably: a car creeping at 2 mph might not. Sensitivity is adjustable, but cranking it up invites more false positives.
Latency from motion trigger to notification averages 3–5 seconds on strong Wi-Fi, stretching to 10+ seconds if the base station is far from the router or cameras are at the edge of range. For instant alerts, ensure solid signal strength and consider upgrading your router if you’re running older 802.11n hardware. Tests by experts at Digital Trends and similar outlets confirm that network performance directly impacts responsiveness.
Smart Home Integration and App Experience
The Arlo app (iOS and Android) is the primary control interface. It’s straightforward: live view, recorded clips, mode switching, and device settings all sit one or two taps deep. The layout won’t win design awards, but it’s functional.
Smart home compatibility includes:
- Amazon Alexa: Voice commands for arming/disarming, viewing live feeds on Echo Show devices.
- Google Assistant: Similar voice control and streaming to Chromecast or Nest Hub displays.
- Apple HomeKit: Arlo Pro 3 and later support HomeKit: earlier Pro models do not. If you’re committed to the Apple ecosystem, verify model compatibility before buying.
- IFTTT and SmartThings: Custom automations like “turn on porch light when camera detects motion” require these third-party platforms.
Integration works best when devices share the same network. If you’ve segmented IoT devices onto a guest VLAN for security (a smart move), ensure the Arlo base station and control devices can communicate, or you’ll hit roadblocks.
Two-way audio quality is adequate for quick conversations, “Leave the package by the door”, but the speaker is tinny and struggles against wind. Don’t expect to conduct a full interview through the camera. The noise-cancellation feature helps, but background traffic or HVAC systems still bleed through.
Geofencing uses your phone’s location to auto-arm cameras when you leave and disarm when you return. It’s convenient but drains phone battery and occasionally lags if GPS signal is weak. Test it for a week before relying on it exclusively, and keep manual controls in your routine.
Managing smart home security devices across platforms can get complex, so consolidating under one ecosystem (Alexa, Google, or HomeKit) simplifies troubleshooting and reduces the number of apps you’re juggling.
Pricing, Subscription Plans, and Value for Money
Upfront hardware costs vary by retailer and model year. As of 2026, expect:
- Arlo Pro 2-camera kit: ~$200–$250 (frequently on sale)
- Arlo Pro 3-camera kit: ~$300–$350
- Individual add-on cameras: ~$120–$150 each
Prices fluctuate with promotions, especially around Black Friday or during seasonal security camera discounts, so timing your purchase can save 20–30%.
Subscription plans (Arlo Secure) unlock advanced features:
- Arlo Secure (Single Camera): ~$5/month. 30-day cloud storage, AI detection (person, vehicle, animal), rich notifications.
- Arlo Secure Plus (Unlimited Cameras): ~$13/month. Same features across all cameras, plus 24/7 emergency response.
- Free Plan: 7-day rolling cloud storage, basic motion alerts, limited to five cameras. No AI detection, no activity zones, no e911 integration.
For a 2–3 camera setup, the Unlimited plan makes sense. The free tier works for low-stakes monitoring (backyard, shed) but lacks the filtering that prevents alert fatigue.
Value proposition: Arlo Pro sits in the mid-tier price bracket. Ring and Wyze offer cheaper entry points, while brands like Nest Cam and Eufy push higher. Arlo’s strength is the wire-free design and proven track record, it’s been refined over multiple generations. But, the subscription model adds up: over three years, you’ll spend more on cloud storage than the cameras cost upfront.
Alternatives like local storage via USB on the base station eliminate ongoing fees but sacrifice remote access to recordings unless you set up port forwarding and dynamic DNS, a project for more tech-savvy users.
Compare total cost of ownership, not just sticker price. If you plan to keep the system for 5+ years, subscriptions become the dominant expense.
Conclusion
The Arlo Pro delivers reliable wire-free monitoring with solid video quality and flexible placement options. It’s well-suited for homeowners who want a scalable system without running cables, though battery maintenance and subscription costs require ongoing attention. Pair it with strong Wi-Fi, realistic expectations about battery life in your climate, and a clear plan for cloud vs. local storage. It won’t stop a determined intruder, but it’ll capture evidence and give you remote visibility, often enough to prevent an opportunistic break-in.